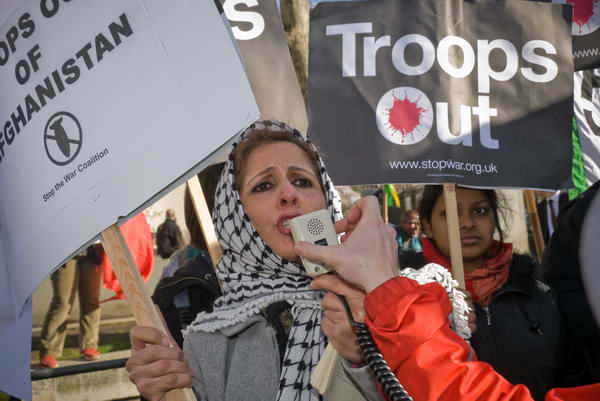
Ash Wednesday is of course a much more serious day, the start of Lent, and a time for sack-cloth and ashes, which I did get to photograph, although my photographic day started with a couple of hundred people opposite Downing Street as a reception committee for ‘war criminal’ Condoleezza Rice. Unfortunately she came in to visit Gordon Brown by the back door and so missed our welcome – and a much-needed Geography lesson from the Friends of Lebanon:

I felt sorry for the guys inside the stockade opposite the famous door, cooped up for hours with nothing to photograph, perhaps because it was too noisy for Condi to emerge in case her delicate ears might hear the shouted advice from the road opposite. It really was much more fun outside, and the picture opportunities were also much better. I’m sure this would have made a better picture for the paper than another boring shot of a politician:
By 3pm we had all had enough and went away – but they were still waiting and hoping. I hope they did finally get to take something, although a quick look through the papers the next day certainly failed to find anything of interest.
More pictures.
Meanwhile the Ministry of Defence was getting more and more barriers and a policeman every few metres around its periphery, as if a huge and violent demonstration was imminent. Others were gathering across the road.
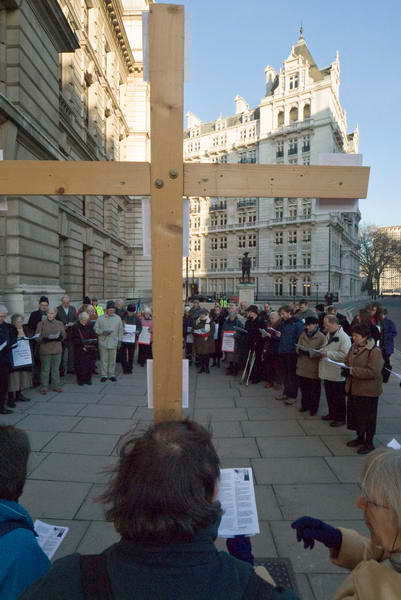
I walked past them and into Embankment Gardens, where a small circle of around 50 people was holding an Ash Wednesday service. This was the combined forces of Pax Christi, along with Catholic Peace Action and Christian CND. One man held a simple wooden cross on which were small photographs, I think of modern Christian martyrs, another a megaphone. The only other weapons – and ones that had seemingly struck fear into the hearts of the Metropolitan Police were ash and charcoal (and later I was also to see a hammer, some nails and sack-cloth.)
This was a Lenten Witness for Peace, an Ash Wednesday Liturgy of Repentence and Resistance to Nuclear War. The vast police presence was because a small number of those taking part were prepared for an act of civil disobedience, writing on the walls of buildings using charcoal. In fact all of those taking part were almost certainly in breach of the SOCPA legislation as the organisers “have never sought permission from the police to engage in the act of prayer and resistance which has taken place here every year since 1982.”
The ashes and charcoal were blessed with holy water and then those present took part in an act of penitence, symbolised by the marking of each of them with a cross of ashes on the forehead. After some further prayers there was a procession to ‘Station 1′, the pavement outside the Old War Office, where the service continued.
This was fittingly a situation begging for a ‘Hail Mary‘ shot, holding my camera above my head at the fullest height I could get, cursing Nikon for their cheapskate omission of a viewfinder curtain from the D200 (actually they give you a small rectangle of black plastic which you lose in ten seconds and isn’t exactly convenient) which means you have to hold one thumb over the viewfinder to get correct exposure while doing so. They did build one into the D2X, but over a thousand pounds and a large weight penalty is a lot to pay for this fairly essential but cheap for Nikon to implement feature. My first attempt (above) was possibly the best.
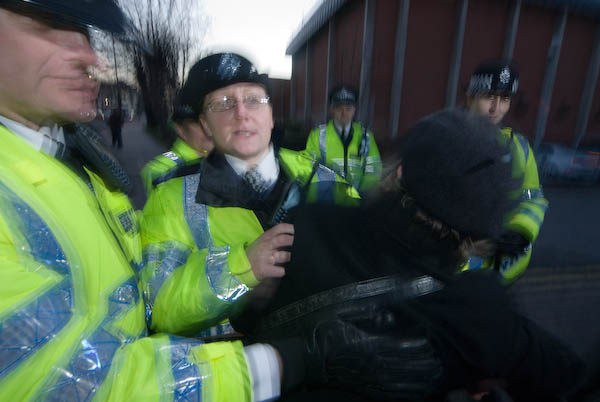
As this section of the event ended, one of those taking part pulled me to one side to tell me to watch out for people trying to write on the building, and so distracted me from actually taking a photograph of it happening (and I’d already changed lenses and added the flash for that very eventuality.) Of course he meant well, and I was able to photograph the police holding the guy and the unfinished message. Later I saw a woman writing on another wall, and ran, but was too far away to get to her before a policeman had stopped her and was telling her off.
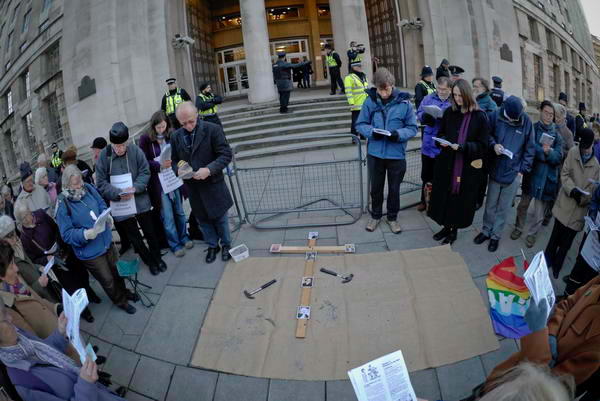
A fisheye used in ‘Hail Mary’ mode to give an overall view. More curses on Nikon.
Outside the Ministry of Defence itself, a large sheet of sackcloth was used to cover the pavement and the cross laid on it. A set of theses for the modern church was read and each of them nailed to the cross while the congregation continuously repeated their chant of a short ‘Litany of the Martyrs.’
Unfortunately I think my curses must have upset Nikon, because halfway through the event my D200 stopped working. I think it had crashed, always a possibility with computers (and modern cameras are computers.) I tried the standard treatment of removing the battery for a few second, and it came back to life, though just to make sure I also changed the battery as it was below 30% left.
Somehow in doing all this, the camera went from the RAW setting I always used and on to basic quality JPEG, and I didn’t notice until I got home, and got rather a nasty surprise on viewing my work. Using my normal LightRoom import settings on jpegs always gives very contrasty poor quality images (they work best using the Linear . Once I had realised the problem I was able to get surprisingly decent results, but the lighting had been extremely tricky and I really missed the flexibility of RAW.
More pictures on My London Diary.