In an earlier job I used to often review anything concerned with photography, including hardware, books and exhibitions, but its now a while since I’ve done so, but I was pleased to be sent a Datacolor SpyderPRINT for review. It’s part of a whole range of Datacolor equipment for use in studios with cameras, computers and printers to provide professional image output. The Spyderprint enables users to produce specific profiles for each combination of printer, ink set and printing paper to provide prints which accurately match the on-screen image.
Years ago I used to do a lot of printing, locking myself in the darkroom for hours at a time. Printing black and white I enjoyed, but with colour, even after I’d installed a processing line it became something of a chore. Making quick proof prints was still reasonably fast, but to get good exhibition prints could mean a lifetime of test prints and fiddling.
Once inkjets became available I soon moved to them at least for the routine printing, and after I got a high quality pigment printer the results could – on the right paper – almost match the C-types I had been making in the darkroom – and were more archival. But getting a great exhibition print was still a matter of test prints and time. Fortunately you can put a sheet of A4 through a printer many times and make prints of small sections on different parts of the page, so it didn’t use too much paper, just time and time and time.
Printing from a computer – whether black and white or colour – differs radically from printing in the darkroom. Good darkroom printing is a performance, a ballet performed with hands and fingers, cut out cards on wires and precise timing to control the light reaching the paper – and with multigrade paper usually involving two or more exposures through different filter packs to control contrast in various areas. Some printers caressed areas of the print in the developer with their fingers to warm areas of the print and increase local agitation, or used chemicals such as ‘ferri’ to bleach highlights. Some used ‘flashing’, not the criminal offence but a short exposure to white light to lower contrast in some or all areas of the print.
Printing from a computer is quite different. All the manipulation takes place on the computer using software such as Photoshop. This enables much greater precision and makes it possible to reverse the mistakes you make without loss, giving unprecedented control. Good printing is still a skilled process – and at its basis is still knowing what you want to achieve, and what is possible from a specific negative or digital file. But the actual physical printing is simply a process of transferring the image you see on the screen accurately onto paper.
The initial step is to make sure you have a good monitor and proper working conditions and to ensure that the monitor displays images accurately and to the normal standards of colour temperature and gamma. A colour temperature of 6500K is standard for normal computer use and for sRGB files, while gamma is normally either 1.8 or 2.2. Windows 10 and MacOS both include display calibration tools and there are various web based tools that give a more precise result, including the free https://www.calibrize.com/ Calibrize 2.0 software. (See more at https://www.digitaltrends.com/computing/how-to-calibrate-your-monitor/ How to Calibrate Your Monitor.) For an even more accurate calibration you can buy hardware tools such as those from Datacolor or X-Rite.
Of course not all monitors are created equal and most are not capable of displaying the full colour range or sRGB or AdobeRGB files. Older monitors in particular may have a problem, but may still be good enough for all practical purposes.
Years ago when I bought a relatively expensive pigment inkjet printer I invested in expensive hardware and software, made my own printer profiles, had also had printer profiles made for me. Things almost worked, but for those exhibition prints I still had to tweak things at little – though with rather fewer test prints.
Eventually that pigment printer came to an end of its life (and so earlier had the calibration hardware). I pulled an cheap inkjet out of my loft, old but unused, bought for a project that never materialised and put it to work. The prints aren’t bad, but often a bit darker than they should be, and I thought it would be nice to get a profile that did a better job.
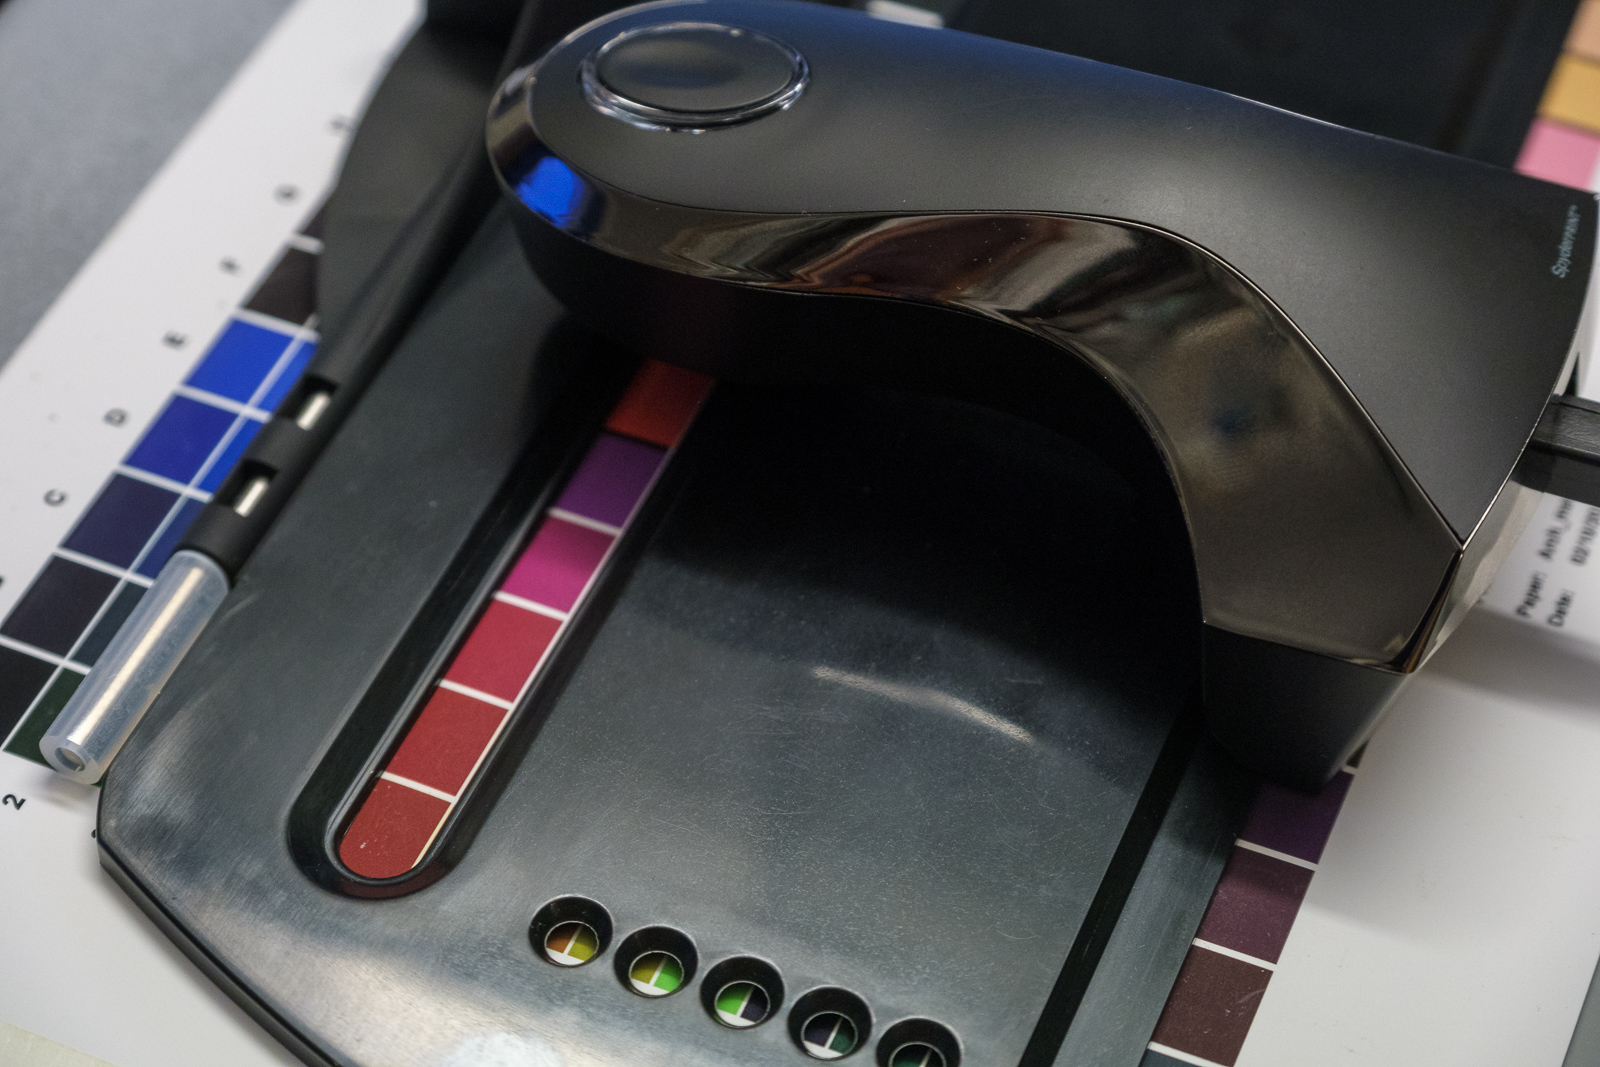
Datacolor SpyderPRINT
I installed this on my Windows 7 computer which has this cheap Epson inkjet attached, slotted the installation CD into a drive, then followed the installation instructions, selecting English (US) as the language. After agreeing to the usual set of licences and installation choices installion continued smoothly.
My next step, following the Quick Start Guide, was to plug the supplied Datacolor 1005 Spectrocolorimeter into one of the spare USB ports on the rear of my computer, and then to start the Sypderprint software from the desktop icon. For some reason it didn’t work the first time I tired, but removing it and replacing worked and it then asked me to put in the 16 bit serial from the CD envelope. I did so, putting in my personal details as requested, and tried to activate the software online. On-line activation failed, but the alternative manual process going to the Datacolor web site provided the new serial number needed to run the software. When I did it told me a rather newer version of the software was available, which I immediately downloaded and installed.
Next step was the page setup. I thought I’d just change to landscape and accept the default margins, but that gave me a warning that the margins were too large. I put in a smaller value, 6mm, for all four and continued. Next I was invited to learn about colour management before profiling my printer and took a quick look at what seems to be a clear exposition before returning to start printer profiling.
First I entered a printer name, paper name and ink name and driver media setting. The Media Setting Check help page gave me information about the settings for the print driver and invited me to print out small samples to see which would be optional, printing out up to 4 on the same A4 sheet to compare.

Next came printing the targets, pages with small blocks of different shades and tones.
There are a choice of nine targets in two groups taking from 1 to 9 sheets of A4 paper. I went for the Help button to read more and as a first attempt I chose the single page Classic ‘High Quality Target’.
At this point I thought ‘How will I know if the calibration will have improved things’ and stopped to print out a copy of a Datacolor test target, labelling it ‘Before’, and then went on to print the target page. By now it had taken me a couple of hours work – though next time it would have only been a few minutes – and I was ready for a rest and a drink while the print was drying for at least 30 minutes before the next step.

I taped the target print to a flat surface and put the supplied plastic guide on it, again following the fairly lengthy help. It required some practice to move the colorimeter along the guide smoothly and at the correct speed – and there is some good advice and a practice tutorial in the help. Even so I made rather a mess of it the first time I tried. By the second try I was getting better, having learnt how to recognise when I hadn’t scanned a row properly and using the arrow key to repeat any of the 15 rows where I thought I hadn’t done the job properly – the software sometimes accepts a badly scanned row. Perhaps because my computer is now a little old and slow, the audio signals which help greatly in getting the right scan speed as you push the colorimeter across sometimes lagged a little.
It was only after I’d printed the target that I came across the advice that on Windows systems it is sometimes best to print the target at 110% and it required very careful alignment of the guide on my one I had printed at 100%.
I would have liked the colorimeter to engage a little more on the guide and run more smoothly, it sometimes seemed to slip a little, perhaps because I was pushing down too hard. Some rows I had to measure 3 or 4 times to get acceptable readings. I’m sure this would become easier with practice, but calibrating printers and papers etc isn’t something you do every day.
I think too that the packaging could have been better designed with storage of the equipment in mind – somehow I couldn’t quite get everything back into the box nicely. This is equipment that most of the time will be left on a shelf, and only got out when you change printer or paper or inks, and it would be nice to have a better storage box.
Finally came the acid test. Did the new profile actually produce a better print? The software now provides an option for testing it with a Datacolor test print, similar but not identical to the one I had printed earlier. And I was impressed as the print was significantly improved, and a good match to the on-screen original. Not a perfect match, but very close and very acceptable. So good that I didn’t feel I needed to do more tests with targets with more patches to get any closer. I’ve not included before and after images becuase the differences are fairly small and unlikely to be too clear in web images – but you can take my word for it. The difference was particularly noticeable in the black and white images included on the test image,
Despite minor quibbles this is hardware and software I can recommend, and in the UK it currently sells for a penny under £300. If you are a professional photographer or someone who does a lot of printing who wants to make good quality prints or proofs of their own work it would be money well spent.
Printing photographs well is never cheap, and with my old pigment printer I would get through several hundred pounds of ink a year even doing relatively little printing. Good quality photographic printing paper now costs over £2 for an A3 sheet, and anything that will both reduce waste and make better prints is work considering. When you consider the total costs of printing the cost of the SpyderPrint doesn’t seem excessive.
There are other ways to get printer profiles and paper manufacturers such as Hahnemühle or Canson provide a range of generic ICC profiles, though these may not include any for your printer model or particular inks you use. These generic profiles if available are better than nothing but your printer is not going to be exactly the same as another of the same model, and for best results you need a specific profile, like that I made with the SpyderPrint. Some paper sellers provide a free service to make specific profiles from a target print you send them, while others offer a paid remote profiling service, with the best costing around £95 a profile. Printers and inks do age, and it’s probably a good idea to profile your monitor each month and your printer perhaps each year – or when you change to new inks, so having your own profiler seems a good idea.
System Requirements:
▪ USB Port
▪ Windows 7 32/64, Windows 8.0, 8.1 32/64, Windows 10 32/64
▪ Mac OS X 10.7, 10.8, 10.9, 10.10
▪ Monitor Resolution 1280×768 or greater, 16-bit video card (24 recommended),
1 GB of available RAM, 500MB of available hard disk space
▪ Internet connection for software download